


Taking screenshots on an iPad can be incredibly useful. You can capture funny conversations, save important information, or grab a meme to send to your friends. But if you don’t know how to take a screenshot on an iPad, you could be missing out on capturing all kinds of moments.
Luckily, taking screenshots on an iPad is easy. In this guide, I’ll walk you through How to take screenshots on an iPad, from the basics to more advanced methods. Whether you have an iPad with a Home button, Face ID, or Touch ID, I’ve got you covered.

How to Take Screenshots on an iPad:
For most modern iPad models, taking a screenshot involves pressing two buttons simultaneously.
On iPads with a Home Button
If your iPad has a physical Home button, taking a screenshot is simple:
- Press and hold the Top button (or Side button) and the Home button simultaneously.
- Release both buttons.
If your audio is on, you’ll see a flash and hear a camera shutter sound. Then, a screenshot thumbnail will temporarily appear in the bottom left corner.
On iPads with Face ID
For newer iPads without a Home button, the process is almost the same:
- Press and hold the Top button (or Side button) and the Volume button simultaneously.
- Let go of both buttons.
Again, you’ll see a flash and hear a sound (if audio is enabled). Then, the screenshot thumbnail shows up.
It doesn’t matter which Volume button you use for iPads with Face ID. Just pick one that’s comfortable to press along with the Top button.
What To Do After You Take a Screenshot on an iPad
After you take a screenshot, you’ll see a small thumbnail preview in the bottom left corner of your screen.
You have a few options:
- Tap the thumbnail to open it in full screen for editing or sharing.
- Swipe left to dismiss the thumbnail without saving the screenshot.
- Do nothing; the screenshot will automatically be saved to your Photos app.
All of your iPad screenshots end up in the Screenshots album in the Photos app. So you can find them there later if you don’t edit them right away.
How to Take Full Page Screenshots on an iPad
Sometimes, a screenshot doesn’t capture everything you need, like if you want to save an entire web page, document, or long conversation.
Fortunately, you can take full-page screenshots that capture content beyond your iPad’s screen size.
Here’s how:
- Take a regular screenshot using the Top/Side and Home/Volume buttons method.
- Tap the thumbnail preview to open it.
- Tap the Full Page button at the top.
- Tap Done when finished.
- Choose Save PDF to Files to save the full screenshot.
This will save the complete screenshot as a PDF in the Files app for easy sharing later.
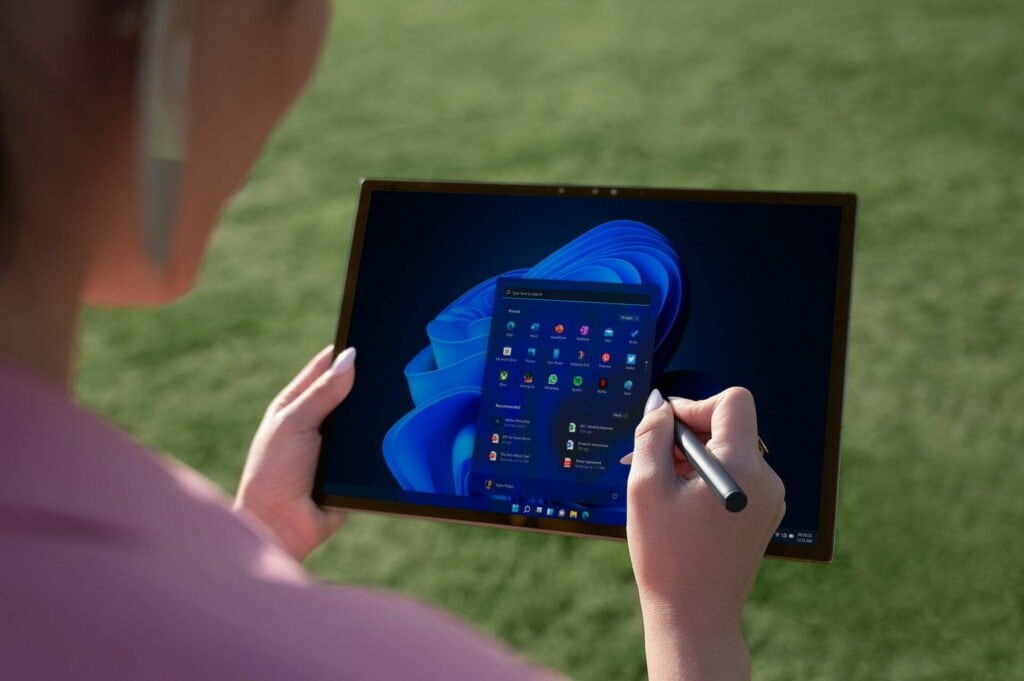
Using Your Apple Pencil to Screenshot on an iPad
If you have an iPad that supports the Apple Pencil, you can take screenshots by swiping the Pencil:
- Hold your Apple Pencil like you’re going to write on the screen.
- Swiftly swipe up from the bottom corner of the screen.
The speed and angle of your swipe matter, so practice this gesture to get it right. You’ll hear the camera sound when successful. It works from any app or screen. It’s great for taking spontaneous screenshots without pressing any buttons.
How to Screenshot on an iPad with AssistiveTouch
AssistiveTouch is an iPad accessibility feature that adds an onscreen software button. It’s useful if you have trouble pressing the hardware buttons to screenshot.
To set up AssistiveTouch:
- Go to Settings > Accessibility > Touch > AssistiveTouch
- Toggle on AssistiveTouch
You’ll see a grey circle appear on your screen. This is the virtual AssistiveTouch button.
To screenshot with AssistiveTouch:
- Tap the grey circle.
- Select Device > More > Screenshot.
The screenshot will save like normal.
You can also customize one of the AssistiveTouch button taps (single, double, or long press) to take screenshots instead.
Using Siri to Take Screenshots on an iPad
Don’t feel like pressing any buttons to screenshot on your iPad? Try using Siri instead.
To take a screenshot with Siri:
- Activate Siri by holding down the Side or Home button.
- Say, “Take a screenshot.”
Siri will immediately take and save a screenshot for you hands-free.
Setting Up Back Tap to Screenshot on an iPad
Back Tap is another handy iPad accessibility feature. It lets you double-tap or triple-tap the back of your iPad to trigger actions.
You can use Back Tap to take screenshots:
Go to Settings > Accessibility > Touch > Back Tap.
- Choose Double Tap or Triple Tap.
- Select Screenshot as the action.
Now, you can double or triple-tap the back of your iPad to automatically take screenshots. No buttons are required.
Back Tap works on iPhone 8 or newer models, too. It’s great for taking spontaneous screenshots.
How to Find Your iPad Screenshots Later
All screenshots you take on an iPad are saved by default in the Photos app.
To quickly find all your screenshots in one place:
- Open the Photos app.
- Select the Albums tab.
- Scroll down and tap Screenshots.
This album contains all the screenshots you’ve taken on your iPad. You can browse, edit, share, or delete them here.
Pro Tip: Use Screen Recording to Screenshot Apps That Block Screenshots
Some apps block taking screenshots due to security reasons. But you can work around this using the built-in screen recording feature.
To screenshot in apps that block screenshots:
- Swipe down from the top right to open Control Center.
- Tap the Screen Record button.
- Screen record the app for a few seconds.
- Stop the recording.
- Go to Photos and take a screenshot of the video while it’s paused on the frame you want.
While convoluted, this method lets you capture screens in apps that normally block screenshots.
Conclusion
And that covers the many ways to take screenshots using your iPad, Apple Pencil, AssistiveTouch, Siri, and more.
Screenshots are invaluable for capturing important moments.

